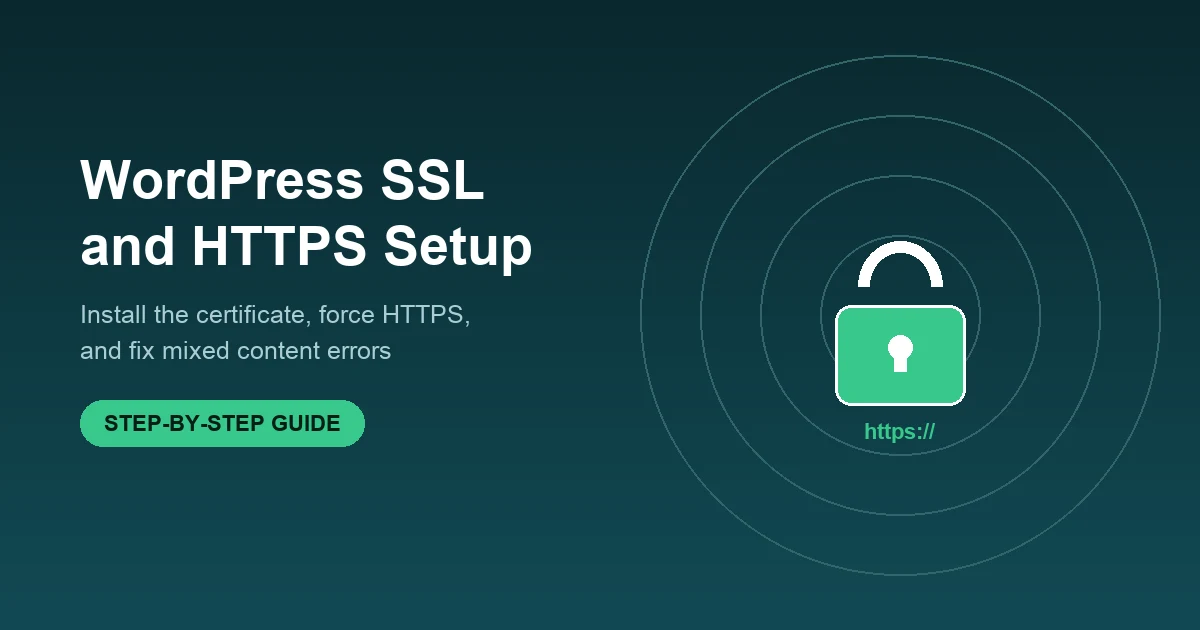
WordPress SSL means your site serves every page over HTTPS with a valid certificate installed. Most hosts issue a free certificate automatically; if a page still shows “Not Secure” or a mixed content warning, the fix is usually the WordPress Address (URL) and Site Address (URL) settings, not the certificate itself.
An SSL certificate encrypts the connection between a visitor’s browser and your WordPress server and proves the domain is who it claims to be. Nearly every host now provisions a free certificate through Let’s Encrypt the moment a domain points at the account, so getting SSL installed is rarely the hard part anymore. The part that trips up most WordPress site owners is forcing HTTPS everywhere and cleaning up the old hardcoded http:// links, images, and scripts left behind from before the switch. That mismatch is what produces the padlock warnings, mixed content errors, and redirect loops covered below, along with the checks and fixes that resolve them without guesswork. Free certificates from Let’s Encrypt are valid for 90 days and renew automatically, so a WordPress site that suddenly shows as insecure usually has a configuration problem rather than an actual certificate failure.
What an SSL Certificate Does for Your WordPress Site
An SSL certificate does two things on a WordPress site: it encrypts data moving between the browser and the server (login credentials, form submissions, payment details), and it verifies the domain’s identity so browsers don’t flag it as untrustworthy. Once installed, your site loads as https:// instead of http://, and browsers show a padlock icon instead of a “Not Secure” label. This matters for every WordPress site, not just stores or membership sites, because modern browsers actively warn visitors away from any page that collects even a comment or a newsletter signup over an unencrypted connection.
Symptoms: How to Tell Your WordPress SSL Setup Is Broken
A handful of signals point to a WordPress SSL problem before you dig into the cause:
- The browser address bar shows “Not Secure” instead of a padlock.
- A mixed content warning appears, meaning the page loads over https:// but pulls in an image, script, or stylesheet over http://.
- The site gets stuck in a redirect loop between http:// and https:// versions of the same URL.
- The certificate shows as expired, self-signed, or issued for the wrong domain name.
- Some pages load securely while others still resolve on the old http:// version.
Likely Causes
Most WordPress SSL issues trace back to one of these:
- The certificate expired or was never reissued after a domain or hosting migration.
- The WordPress Address (URL) and Site Address (URL) fields in Settings are still set to http://.
- Theme, plugin, or media library assets have hardcoded http:// links baked into the database.
- No server-level redirect rule exists to force http:// traffic to https://.
- The certificate covers the wrong domain, such as missing a www or subdomain variant.
Safe First Checks Before You Touch Anything
Before changing settings, confirm what’s actually wrong. Log in to your host’s control panel or cpanel and check whether an active SSL certificate is listed for the domain; nearly every hosting company displays certificate status and expiry there. If you manage your own web server (Nginx or Apache) instead of a managed WordPress host, check the certificate directly through the server’s SSL configuration rather than a dashboard. Next, click the padlock (or lack of one) in the browser address bar to see the certificate details, including which domain name it was issued for and when it expires. Finally, run the URL through a free external SSL checker to confirm the full certificate chain is installed correctly. These three checks take a few minutes and tell you whether you’re dealing with a missing certificate, an expired one, or a WordPress configuration issue rather than a certificate problem at all.
Step-by-Step: Install and Force HTTPS on WordPress
- Confirm your host has SSL active. Most hosting companies auto-issue a free certificate through Let’s Encrypt the moment DNS points at the account; check the SSL section of your dashboard or cpanel before you decide to install SSL manually.
- Update WordPress Address (URL) and Site Address (URL). In Settings, General, change both fields from http:// to https:// and save. This is the single most common fix for a site with a valid certificate that still shows insecure warnings.
- Force HTTPS site-wide. Add a redirect rule at the server level, or install a WordPress plugin such as Really Simple SSL to handle the http-to-https redirect automatically if you don’t have server access.
- Fix mixed content. Search the database for hardcoded http:// URLs in image, script, and stylesheet references and update them to https:// (or protocol-relative) so every asset loads securely.
- Clear cache and re-test. Purge your WordPress cache, any CDN cache, and your browser cache, then reload the site in a private window to confirm the padlock shows cleanly with no mixed content warning.
Free SSL vs Paid SSL
Most WordPress sites only need the free certificate their host auto-issues through Let’s Encrypt; it encrypts the connection exactly the same way a paid certificate does and renews automatically every 90 days. Paid or wildcard SSL certificates only make sense in specific cases: covering many subdomains under one certificate, meeting a client or compliance requirement for extended-validation certificates, or getting a longer support SLA from a certificate authority. For a typical business or WordPress site, free SSL is the right default.
When to Call a Professional
Most WordPress SSL problems resolve with the steps above, but a few situations are worth escalating rather than troubleshooting further on your own: mixed content warnings that keep reappearing after you’ve already fixed the obvious URLs, a certificate stuck in “pending” for more than a few hours, or a domain mismatch left over from a migration between staging and production. If your site handles logins, checkout, or any customer data, a broken certificate is a trust and compliance risk worth resolving quickly rather than leaving half-fixed. GEENXT’s managed WordPress support handles exactly this kind of cleanup: submit the issue through the GEENXT agent-task workflow and the team verifies the certificate, corrects the WordPress URL settings, clears the remaining mixed content, and confirms the fix instead of leaving it as a partial repair.
Prevention Checklist
- Monitor certificate expiry so renewal never lapses unnoticed, even though most Let’s Encrypt certificates auto-renew.
- Avoid hardcoding http:// links in theme files, widgets, or page content; use relative or https:// URLs from the start.
- Re-check the WordPress Address (URL) and Site Address (URL) settings after every domain or hosting migration.
- Keep any SSL or force-HTTPS plugin updated alongside WordPress core and other plugins.
Direct fact: Let’s Encrypt certificates, the free SSL option most WordPress hosts auto-issue, are valid for 90 days and are designed to renew automatically well before expiry, per Let’s Encrypt’s own certificate lifecycle documentation (accessed 2026).
Getting SSL right on WordPress is less about the certificate itself, which most hosts now issue for free, and more about making sure every setting and asset on the site actually points to the https:// version. Work through the checks above in order and most sites clear their SSL warnings without needing to touch server configuration at all. For background on the encryption mechanics, see Let’s Encrypt’s certificate documentation and Mozilla’s TLS overview, and for more on why browsers flag insecure pages, see web.dev’s HTTPS guide. For the full URL setting reference, WordPress.org documents the Settings, General screen in detail.
SSL and HTTPS are one piece of a wider security posture. For the rest of the checklist, from admin access to backups and logging, see GEENXT’s WordPress security checklist, and for stronger browser-side protection once HTTPS is confirmed, see the guide to security headers for WordPress. For a broader view of risk-reduction, compliance-sensitive setup, and incident response, start at GEENXT’s security and compliance hub.
Frequently Asked Questions
Does WordPress support SSL?
Yes. WordPress works with SSL/HTTPS out of the box; the certificate itself is issued and installed at the hosting level, and WordPress just needs its WordPress Address (URL) and Site Address (URL) settings updated to https:// to use it.
How can I get a free SSL certificate for my WordPress site?
Nearly every host auto-issues a free certificate through Let’s Encrypt once your domain’s DNS points at the hosting account. Check the SSL section of your host’s dashboard or cpanel; if none is listed, most hosts offer a one-click option to request one.
How do I force HTTPS on my WordPress site?
Add a redirect rule at the server level, or install a WordPress plugin such as Really Simple SSL if you don’t have server access. Either approach automatically sends any http:// request to the https:// version of the same URL.
How do I fix mixed content or SSL warnings in WordPress?
Search the site’s database for hardcoded http:// links in images, scripts, and stylesheets and update them to https://, then clear your cache and CDN cache and reload the page in a private browser window to confirm the warning is gone.
How do I check if SSL is working correctly on my WordPress site?
Look for the padlock icon in the browser address bar and click it to view the certificate’s domain name and expiry date, or run the URL through a free external SSL checker to confirm the full certificate chain is installed.
What’s the difference between free and paid SSL for WordPress?
Free SSL through Let’s Encrypt encrypts the connection the same way a paid certificate does and renews automatically every 90 days. Paid or wildcard SSL is only worth it for sites covering many subdomains or with a specific compliance requirement for extended-validation certificates.
How often do I need to renew an SSL certificate on WordPress?
Free Let’s Encrypt certificates are valid for 90 days and are built to renew automatically before they expire. It’s still worth checking certificate status periodically, since a failed auto-renewal after a hosting change is one of the more common causes of a WordPress site suddenly showing as insecure.
What is an SSL certificate and why does my WordPress site need one?
An SSL certificate encrypts data moving between a visitor’s browser and your WordPress server and verifies the domain’s identity. Without one, browsers label the site “Not Secure,” which affects visitor trust on every page, not just checkout or login forms.